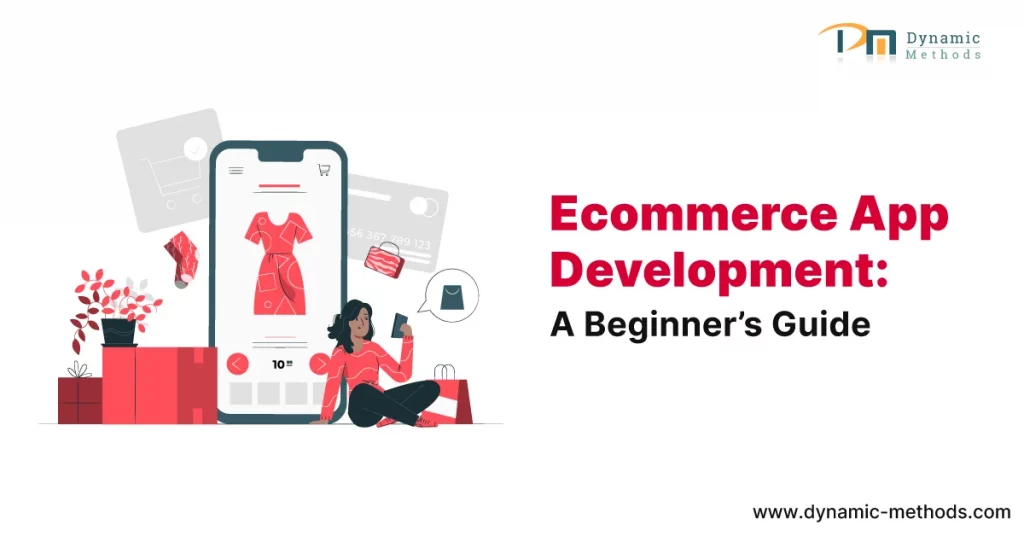
eCommerce App Development – A Beginner’s Guide
In today’s fast-paced digital world, convenience is king. From groceries to gadgets, consumers are increasingly turning to ecommerce to meet their shopping needs. If you’re an entrepreneur with a vision or an established business looking to expand your reach, developing an ecommerce app can be the gateway to success.
But where do you start? How can you create an online shopping experience that not only meets customer expectations but also drives profits? In this beginner’s guide to ecommerce app development, we’ll walk you through the essential steps and provide valuable insights to set you on the path to ecommerce success.
1. Defining Your Ecommerce Vision
Before you jump into the world of app development, you need a clear vision for your ecommerce business.
1. Set Your Goals
Begin by asking yourself: What are your objectives? Are you looking to sell a specific product, offer a range of products, or create a multi-vendor marketplace? The goals you set will drive the entire development journey.
2. Identify Your Target Audience
3. Research Your Competition
Take a look at your competitors’ ecommerce apps. What are they doing well, and where can you improve? Identifying gaps in the market can be a valuable opportunity.
2. Choosing the Right Platform for Ecommerce App Development
1. Native vs Hybrid vs Web Apps
2. Popular Ecommerce Development Platforms
Explore popular platforms like Shopify, WooCommerce, Magento, and custom solutions. Evaluate their features, scalability, and customization options to determine which one suits your business best.
3. DIY or Hire a Developer?
3. Designing Your Ecommerce App
The design of ecommerce mobile app plays a significant role in attracting and retaining customers.
1. User-Friendly Interface
2. Mobile Responsiveness
3. Payment and Checkout Process
4. Developing and Testing Your Ecommerce App
1. Find a Developer or Development Team
2. Build a Prototype
3. Testing and Quality Assurance
5. Launching Your Ecommerce App
1. Marketing and Promotion
2. Monitor Performance
3. Scalability
Conclusion
In conclusion, diving into ecommerce app development can be a rewarding endeavor, but it requires careful planning and execution. By defining your vision, choosing the right platform, designing a user-friendly interface, developing and testing your app, and effectively launching it, you can cash in on the convenience of ecommerce and create a successful online business.
Dynamic Methods provides mobile application development services for your business needs. Remember, the world of ecommerce is ever-evolving, so stay updated with industry trends and continuously refine your app to meet the changing needs of your customers. Now, armed with this starter’s guide, you’re ready to embark on your ecommerce journey and turn your business idea into a thriving online store. make contact with us.
Frequently Asked Questions
1. How much does it cost to develop an ecommerce app?
2. How long does it take to build an ecommerce app?
3. Do I need coding skills to develop an ecommerce app?
4. What are the must-have features for an ecommerce app?
Yes, React Native is a cross-platform framework that allows you to build apps for both iOS and Android using a single codebase.